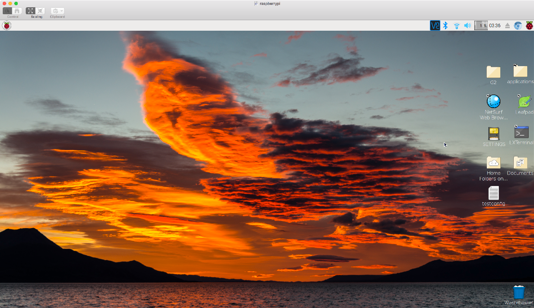
The best part of using your Mac to access the Raspberry Pi's screen is that you don't need to install anything on the Raspberry Pi or the Mac. (KISS rule applied!)
This is good because software like tightvncserver requires Java to run on the Pi. Java is handy but it is a processor pig and should be avoided to keep your project running as fast as possible; and if your Pi is completely wireless, to ensure longest battery life. I use a Raspberry Pi Zero Wi-Fi (rbp0w) which is a natural for going completely wireless.
Since you are looking for this you are likely new to the Pi and probably don't know where the settings are or maybe even what "VNC" is...
So...here is a step by step "new Pi user" guide to using the standard system native VNC client on macOS called Screen Sharing with your Raspberry Pi's native RealVNC Server, perform the following configuration:
1) These instructions presume that you installed the operating system NOOBS from the RaspberryPi site:
https://www.raspberrypi.org/downloads/noobs/
2) Open the RealVNC Server configuration interface by clicking on the menu bar icon:

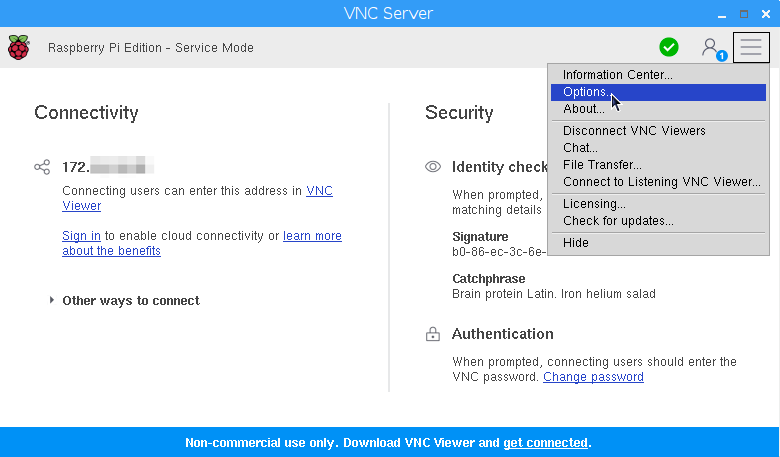
3) On the VNC Server window, click the hamburger menu, and select "Options":
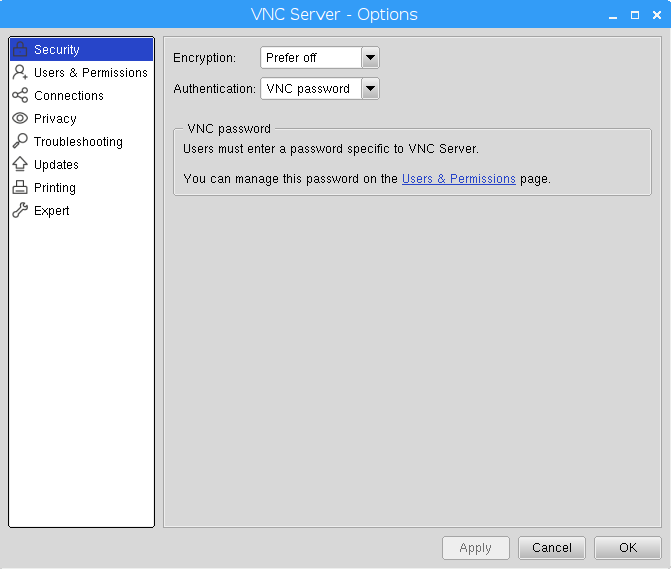
4) Select "Security" if not already selected and set Encryption to "Prefer off" and Authentication to "VNC password". This assumes your device is behind a firewall on a secure network... hence encryption can be safely turned off to ensure compatibility.
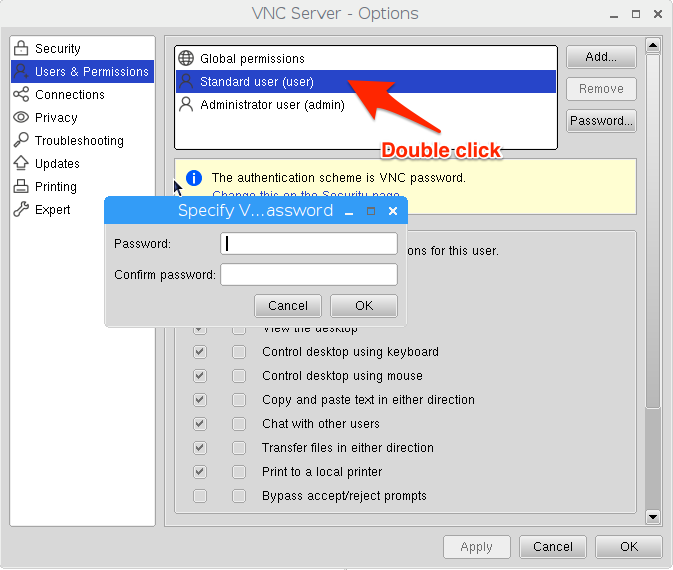
5) Set up a "Standard user" with a password of 8 characters or less
6) Then open "Screen Sharing" on your Mac, and from the "Connection" menu select "New" and type in the IP address of your Pi:

7) when challenged, enter the password you setup at the Pi in step 5. Make life easy on yourself and save the password in the Keychain too...
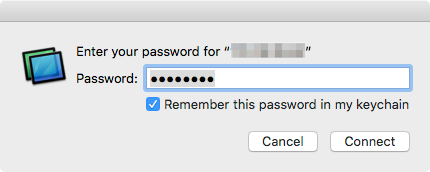
8) Press connect and you are in!
