I'm trying to make an alarm system but the motion sensor is always on as soon as the script is run. I've posted a question about a different problem i was having with this project so it'll confusing to edit it all to discuss these other problems wont it?
Inputs button motion sensor keypad
Outputs leds, buzzer, oled display(haven't got to his yet)
Configuration
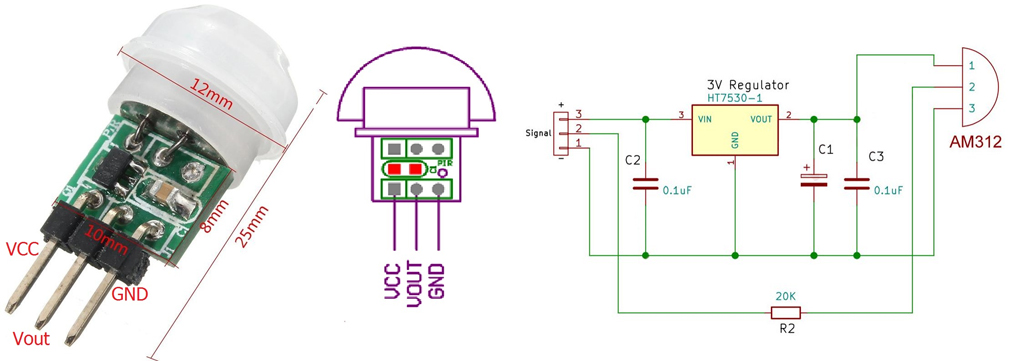
button - ground > 10k > 10k > gpio, buzzer - 5v > NPN 8050 > 5k > gpio> ground, leds - ground > 220k > gpio, motion sensor - 5v > gpio > ground
when the motion sensor is triggered or the button is pressed all outputs should turn on. if the button is pressed again, outputs should turn off.
Current problems
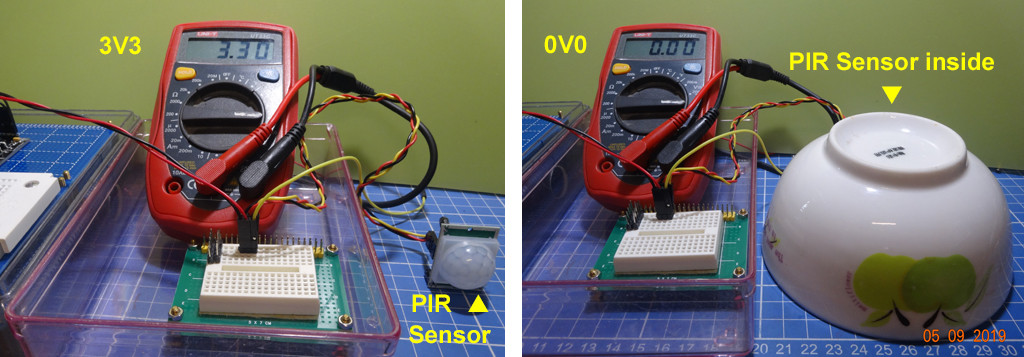
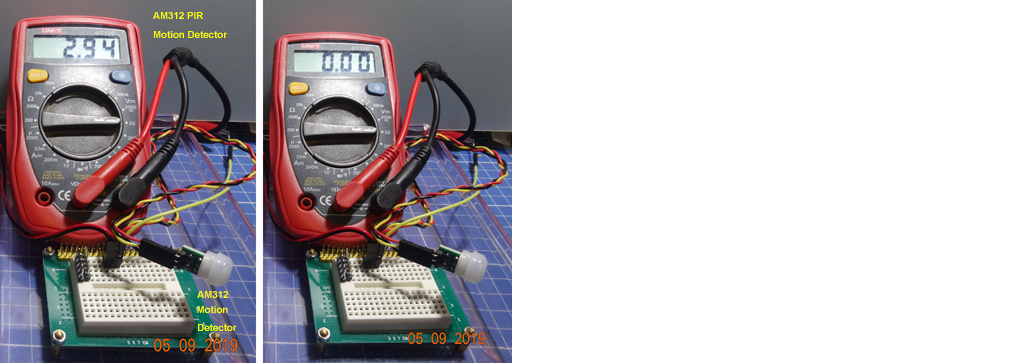
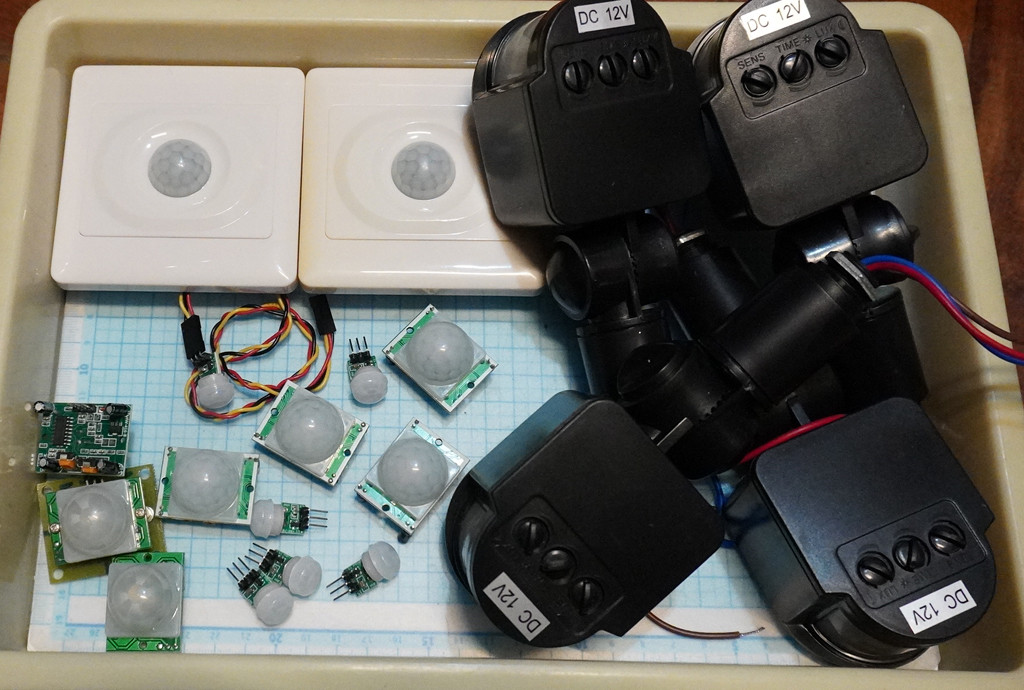
1) it seems the PIR motion sensor is always giving input because it just turns the alarm on and stays on. The button works fine. it will turn off the alarm once the motion sensor triggers it but then the motion sensor wont trigger it again.
2) The key pad is printing the digit but wont turn off the alarm.
Code
import RPi.GPIO as GPIO
import time
import matrixKeyboard

alarm_end = time.time() + 60 * 3  # alarm_ends after 3 mintues

Leds = [37, 35, 33, 31]
buzz = 13
motionSensor = 12
button = 29

def setup():
    GPIO.setmode(GPIO.BOARD)
    GPIO.setup(Leds, GPIO.OUT)
    GPIO.setup(buzz, GPIO.OUT)
    GPIO.setup(motionSensor, GPIO.IN, GPIO.PUD_DOWN)
    GPIO.setup(button, GPIO.IN, pull_up_down=GPIO.PUD_UP)
    GPIO.setwarnings(False)


current_state = 0
btnState = 1

def alarm():
    GPIO.output(Leds,True)
    GPIO.output(buzz,True)

def alarmOff():
    GPIO.output(Leds,False)
    GPIO.output(buzz,False)
    control

def swMotion():
    time.sleep(0.3)
    current_state = GPIO.input(motionSensor)
    if current_state == 1:
      alarm()
      time.sleep(4) # wait 4 seconds for PIR to reset.


def swState(ev=None):
    global btnState
    btnState = not btnState
    GPIO.output(Leds, btnState)  # switch led status(on-->off; off-->on)
    GPIO.output(buzz, btnState)
    if btnState == 1:
        print ('led on...')
    else:
        print ('...led off')

def Keypads():
    key = matrixKeyboard.main()
    if key == 1:
        alarmOff()


def loop():
    try:
        GPIO.add_event_detect(button, GPIO.FALLING, callback=swState, bouncetime=200) # wait for falling
        swMotion()
        Keypads()

    except KeyboardInterrupt:
        destroy()


def destroy():
    GPIO.output(Leds, False)
    GPIO.output(buzz, False)
    GPIO.cleanup()

if __name__ == '__main__':     #Program start from here
    setup()
    while True:
        loop()
Matrix Keypad script
import RPi.GPIO as GPIO
import time

class keypad():
    # CONSTANTS
    KEYPAD = [
    [1,2,3,"A"],
    [4,5,6,"B"],
    [7,8,9,"C"],
    ["*",0,"#","D"]
    ]
    ROW = [18,22,24,26]
    COLUMN = [32,36,38,40]

    def __init__(self):
        GPIO.setmode(GPIO.BOARD)

    def getKey(self):

        # Set all columns as output low
        for j in range(len(self.COLUMN)):
            GPIO.setup(self.COLUMN[j], GPIO.OUT)
            GPIO.output(self.COLUMN[j], GPIO.LOW)

        # Set all rows as input
        for i in range(len(self.ROW)):
            GPIO.setup(self.ROW[i], GPIO.IN, pull_up_down=GPIO.PUD_UP)

        # Scan rows for pushed key/button
        # A valid key press should set "rowVal"  between 0 and 3.
        rowVal = -1
        for i in range(len(self.ROW)):
            tmpRead = GPIO.input(self.ROW[i])
            if tmpRead == 0:
                rowVal = i

        # if rowVal is not 0 thru 3 then no button was pressed and we can exit
        if rowVal < 0 or rowVal > 3:
            self.exit()
            return

        # Convert columns to input
        for j in range(len(self.COLUMN)):
            GPIO.setup(self.COLUMN[j], GPIO.IN, pull_up_down=GPIO.PUD_DOWN)

        # Switch the i-th row found from scan to output
        GPIO.setup(self.ROW[rowVal], GPIO.OUT)
        GPIO.output(self.ROW[rowVal], GPIO.HIGH)

        # Scan columns for still-pushed key/button
        # A valid key press should set "colVal"  between 0 and 2.
        colVal = -1
        for j in range(len(self.COLUMN)):
            tmpRead = GPIO.input(self.COLUMN[j])
            if tmpRead == 1:
                colVal=j

        # if colVal is not 0 thru 2 then no button was pressed and we can exit
        if colVal < 0 or colVal > 3:
            self.exit()
            return

        # Return the value of the key pressed
        self.exit()
        return self.KEYPAD[rowVal][colVal]

    def exit(self):
        # Reinitialize all rows and columns as input at exit
        for i in range(len(self.ROW)):
                GPIO.setup(self.ROW[i], GPIO.IN, pull_up_down=GPIO.PUD_UP)
        for j in range(len(self.COLUMN)):
                GPIO.setup(self.COLUMN[j], GPIO.IN, pull_up_down=GPIO.PUD_UP)

def main():
    kp =  keypad()
    digit = None
    while digit == None:
        digit = kp.getKey()
    while digit != None:
        print (digit)
        digit = kp.getKey()
        time.sleep(1)


if __name__ == '__main__':
    while True:
        main()
Edit
Ok. So it seems the motion sensor turns on even when gpio is not plugged in. It must be connected to 5v and ground so what am I suppose to do if I cant stop it being high? a resistor?
Thank you!


